

You will need:
- A base color - I used Hot Tamale by Pure Ice which is that orange color.
- Black and white nail polish
- Something to create lines and dots with - I HIGHLY suggest using a nail striping brush or thin brushes if you have them for this design, but a pencil dipped into nail polish works too. It's just a little more work.
1. Start with your base color.
2. Draw a small curve with black polish in one corner of your nail.
3. Draw a few lines coming out of that curve. I was able to draw four on my thumb and only 3 on my other fingers. I did end up adding more lines so don't try to cram a ton of lines! You can come back and add more. :)
4. (Optional) Connect the lines you just made with a curve. I added this because it gives a little more character than just a straight line.
5. Now on the tip of your nail, fill in everything with black. See, on my thumb I even added another line when filling it in.
6. Finally, add a few white polka dots on the filled in area. I varied my dots sized, so I had some big ones and a couple little ones.
7. (Optional) Add some glitter to the black tip or inside your sections! I forgot to add this step into the pictures because I added them this morning and created this tutorial yesterday. :) I love my glitter nail polish and it does add a lot to the little wings. And you are done!


Okay guys, I have cheated.. I have bought this little nail art brushes. This is how I created these Monarch Butterfly Wings. These brushes came in a set of 5 (colors were black, white, purple, blue, & pink) but all I really wanted was the black and white. I found these at TJ Maxx for $5.90 for all 5. :) I think that this was a great deal because you can find these tools at many beauty supply stores (such as Sally's) for $3.00 for only 1 art brush and UP! They go for as much as $8! That's why I thought that I might as well buy this guys. I really do like them. ;) I just thought that I needed to tell you all my dirty, little secret.. I just bought these though, and this was the first design I used the black one!

Oh hey, and another secret... I got these in the mail a week ago. These are called dotting tools and have little, metal balls at the end of them. You use these the same ways you would as a pencil but they have 10 varied sizes. I love these because they're super easy to clean up and they are EXTREMELY CHEAP. I bought these off of eBay for $3.40 & free shipping. But I've seen them as cheap as $0.99 off of eBay as well. The only reason why I paid more was because I wanted them sooner and they were from the USA. And I didn't want to wait a month for them to ship from China. Okay, enough with my new tools. :) But if you guys are interested in buying some tools like these, I'd totally suggest looking at Amazon.com and eBay.com :)

Okay, back to the nails! <3 My orange base :)

Adding some curves

A few lines
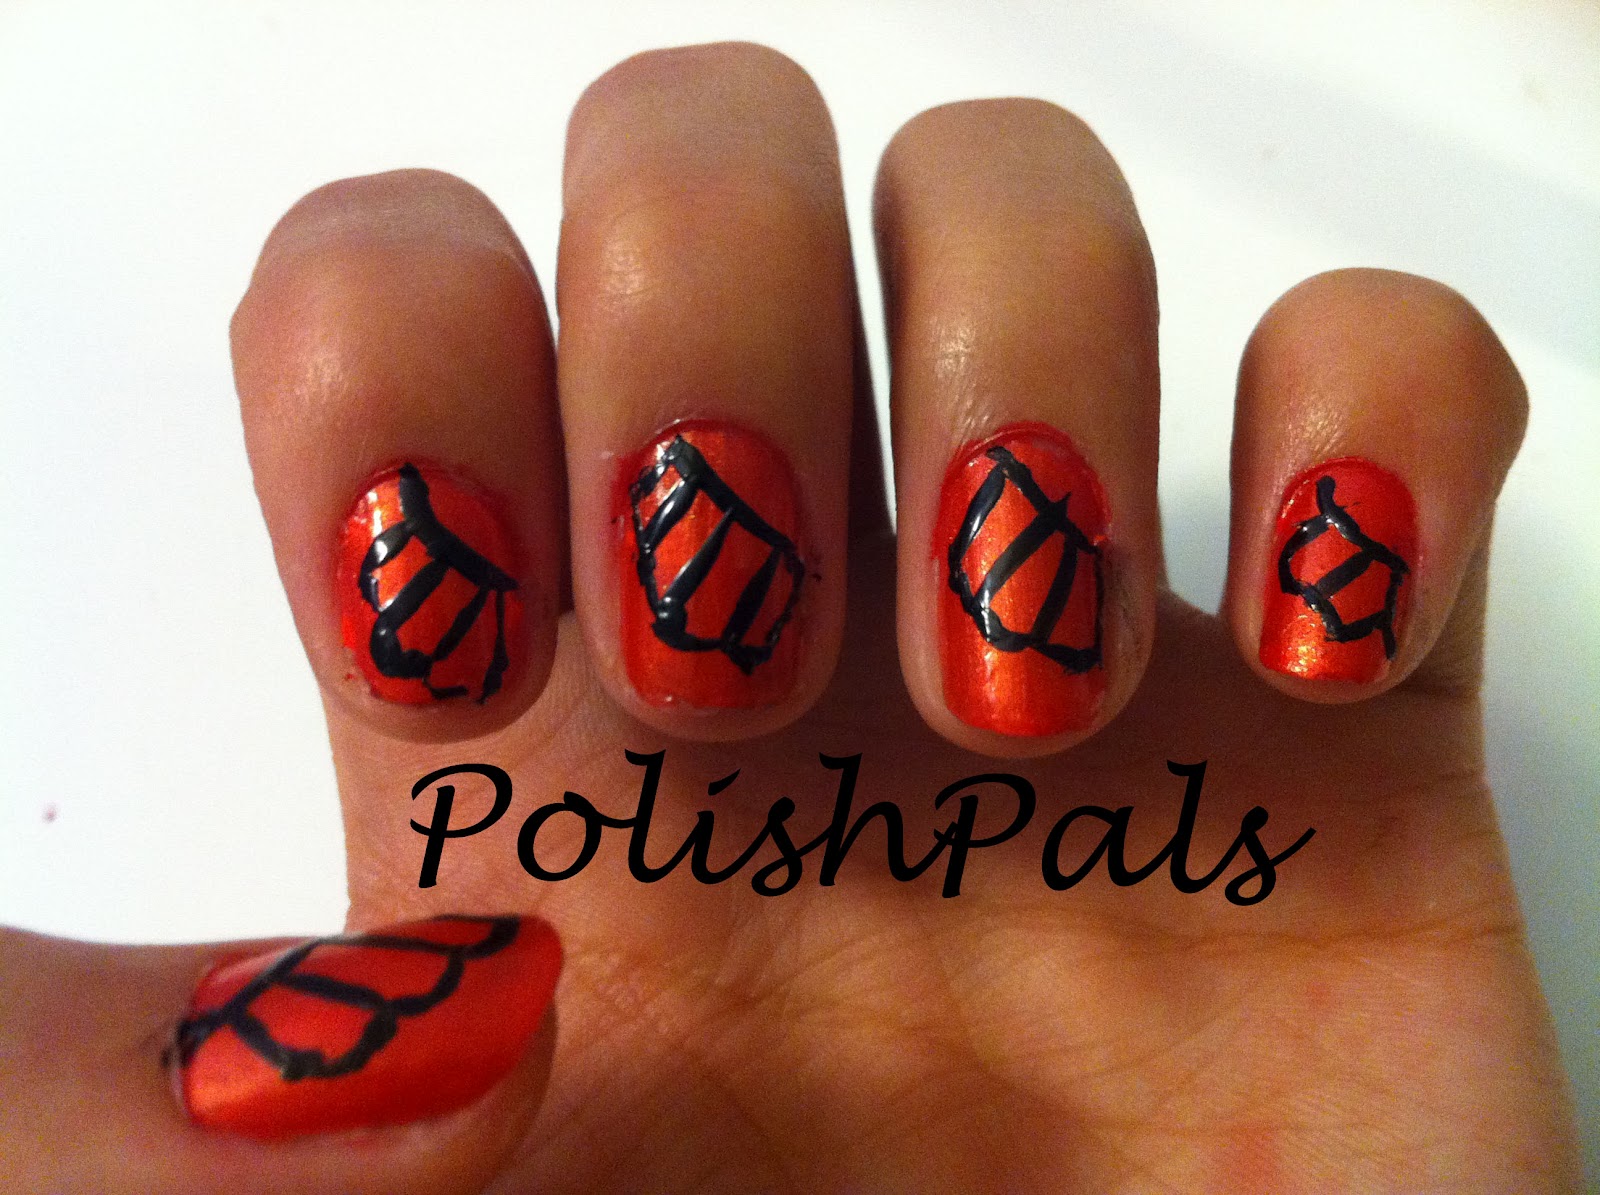
Connect with some more curves (or just lines if you'd like)

Fill in with black

Add some large white dots

And finally some small ones!


Oh, and as always, please add your own embellishments! I just added some pretty gold sparkles to all the orange areas. :)
And there you have it! Some darling butterfly wings! :) Until next time, Your Polish Pal, Jenna :]

No comments :
Post a Comment